In celebration of one year of my blog (happy birthday Hungry & Tired!), I thought it would be great to share my roast chicken recipe. Roasting a chicken is a great way to celebrate any occasion, whether it be a birthday, anniversary, or simply a Sunday dinner. I have noticed that people are often frightened of dealing with the whole bird, or are concerned that the chicken will be dry and flavorless. I can assure you that roasting a chicken is not a scary thing. Mastering this skill gives you such a variety of culinary opportunities. You can roast a chicken on the weekend, keep it in the fridge, and use it in different dishes throughout the week. Imagine how easy it will be to whip up chicken soup, chicken pot pie, chicken sandwiches on those exhausting weeknights when you have a roast chicken in your fridge.
As you can probably tell from my photographs depicting imperfect sear marks, irregularly sized dicing, and occasionally overcooked meat, I am a home-taught chef. I learned to cook from cookbooks, the internet, and from cooking with friends and family. Perfection is overrated, especially in the kitchen. Cookbooks can be great gateways into new culinary adventures. One of the first cookbooks I ever worked with is Alice Waters’s “The Art of Simple Food,” which is how I first learned how to roast a chicken, and from where this recipe originated.

Alice Waters transformed cooking in America. Her restaurant Chez Panisse is spectacular and has cultivated a whole generation of new chefs who have opened their own restaurants. Alice Waters also has a strong commitment to community and food, and through her Edible Schoolyard Program (http://edibleschoolyard.org/), teaches kids about where their food comes from and why it’s important to eat healthy, real food. Alice Waters inspires me. I met Alice Waters when I was 14, at a Sur La Table book signing with my parents and little sister. She was gracious with her time, and signed a copy of her book to my family. She took a much greater interest in my younger sister, Hilly, whose name was similar to her own daughter’s name, “Fanny”. I was (and perhaps still am) a bit jealous. Thank you Alice Waters for this amazing recipe (and everything else, too)!
Ingredients:
- 1 whole body fryer, ideally 3-4 pounds
- Kosher salt
- Freshly ground black pepper
- Olive oil


Preparation:
Start by preheating your oven to 400 degrees. You will then want to prepare your chicken. Take your chicken to the sink, take it out of its butcher paper or wrapping, remove any giblets, and pat dry. It is really important that you buy a small chicken. These are really hard to find at major grocery stores — they are always trying to sell you a big chicken. Here’s the problem with a big chicken, they don’t cook evenly, so you’ll end up with a dry chicken or an undercooked chicken. That’s a sad chicken, and there are no sad chickens allowed in my kitchen. I like to get my chickens at Whole Foods or Trader Joe’s. Trader Joe’s has small, organic, brined chickens (without giblets, yay!) that are perfect for a simple roasted chicken. The prices aren’t bad either.

Make sure you really dry off the chicken with paper towels. If the chicken is wet, it won’t crisp up.

After you dry your chicken, cut off any excess fat in the cavity:

Then, dribble olive oil on the chicken breast, about 1-2 Tablespoons, and massage it into the chicken, making sure to run your fingers under the chicken skin and onto the meat. You don’t need to add olive oil, but I like the creamy-ness it adds. I also sometimes use butter, which is delightful as well.

Sprinkle the bird with kosher salt and freshly ground black pepper. Again, make sure you get the seasoning under the chicken skin as well:

Flip the chicken over, and make sure the back side is adequately olive-oiled, salted, and peppered:

Once the chicken is seasoned, flip it over again and truss the legs. This helps them cook evenly, and it looks cool. This is not essential, but I would recommend doing it. Cut about a food of cooking twine, put one drumstick on top of the other, and tie a simple knot. Cut off the excess twine and throw it away. Once it’s tied, place the chicken on an oven-safe dish. I cooked mine on a baking sheet because I did not want to go get my roasting pan out of the shed. Sometimes, I place thyme, rosemary or half a lemon in the cavity for added flavor.

Then, tuck the wings into the legs to help keep them from burning:

Put the chicken in the oven for twenty minutes. You roast the chicken for one hour total, flipping it twice, at 20 minutes and 40 minutes. I just set my timer for three twenty minute increments.

After the first twenty minutes, using protection, remove the chicken from the oven. The wings may have come untucked, and that’s ok. You can put them back if you want, but be careful, it’s hot!

Using a sturdy spatula placed in the cavity, flip the chicken. Be careful, did I say it’s hot! Obviously, I’ve burned myself cooking a chicken before.

Put your upside-down chicken in the oven for another twenty minutes at 400 degrees. The rotation of the chicken helps it cook evenly and prevents burning.

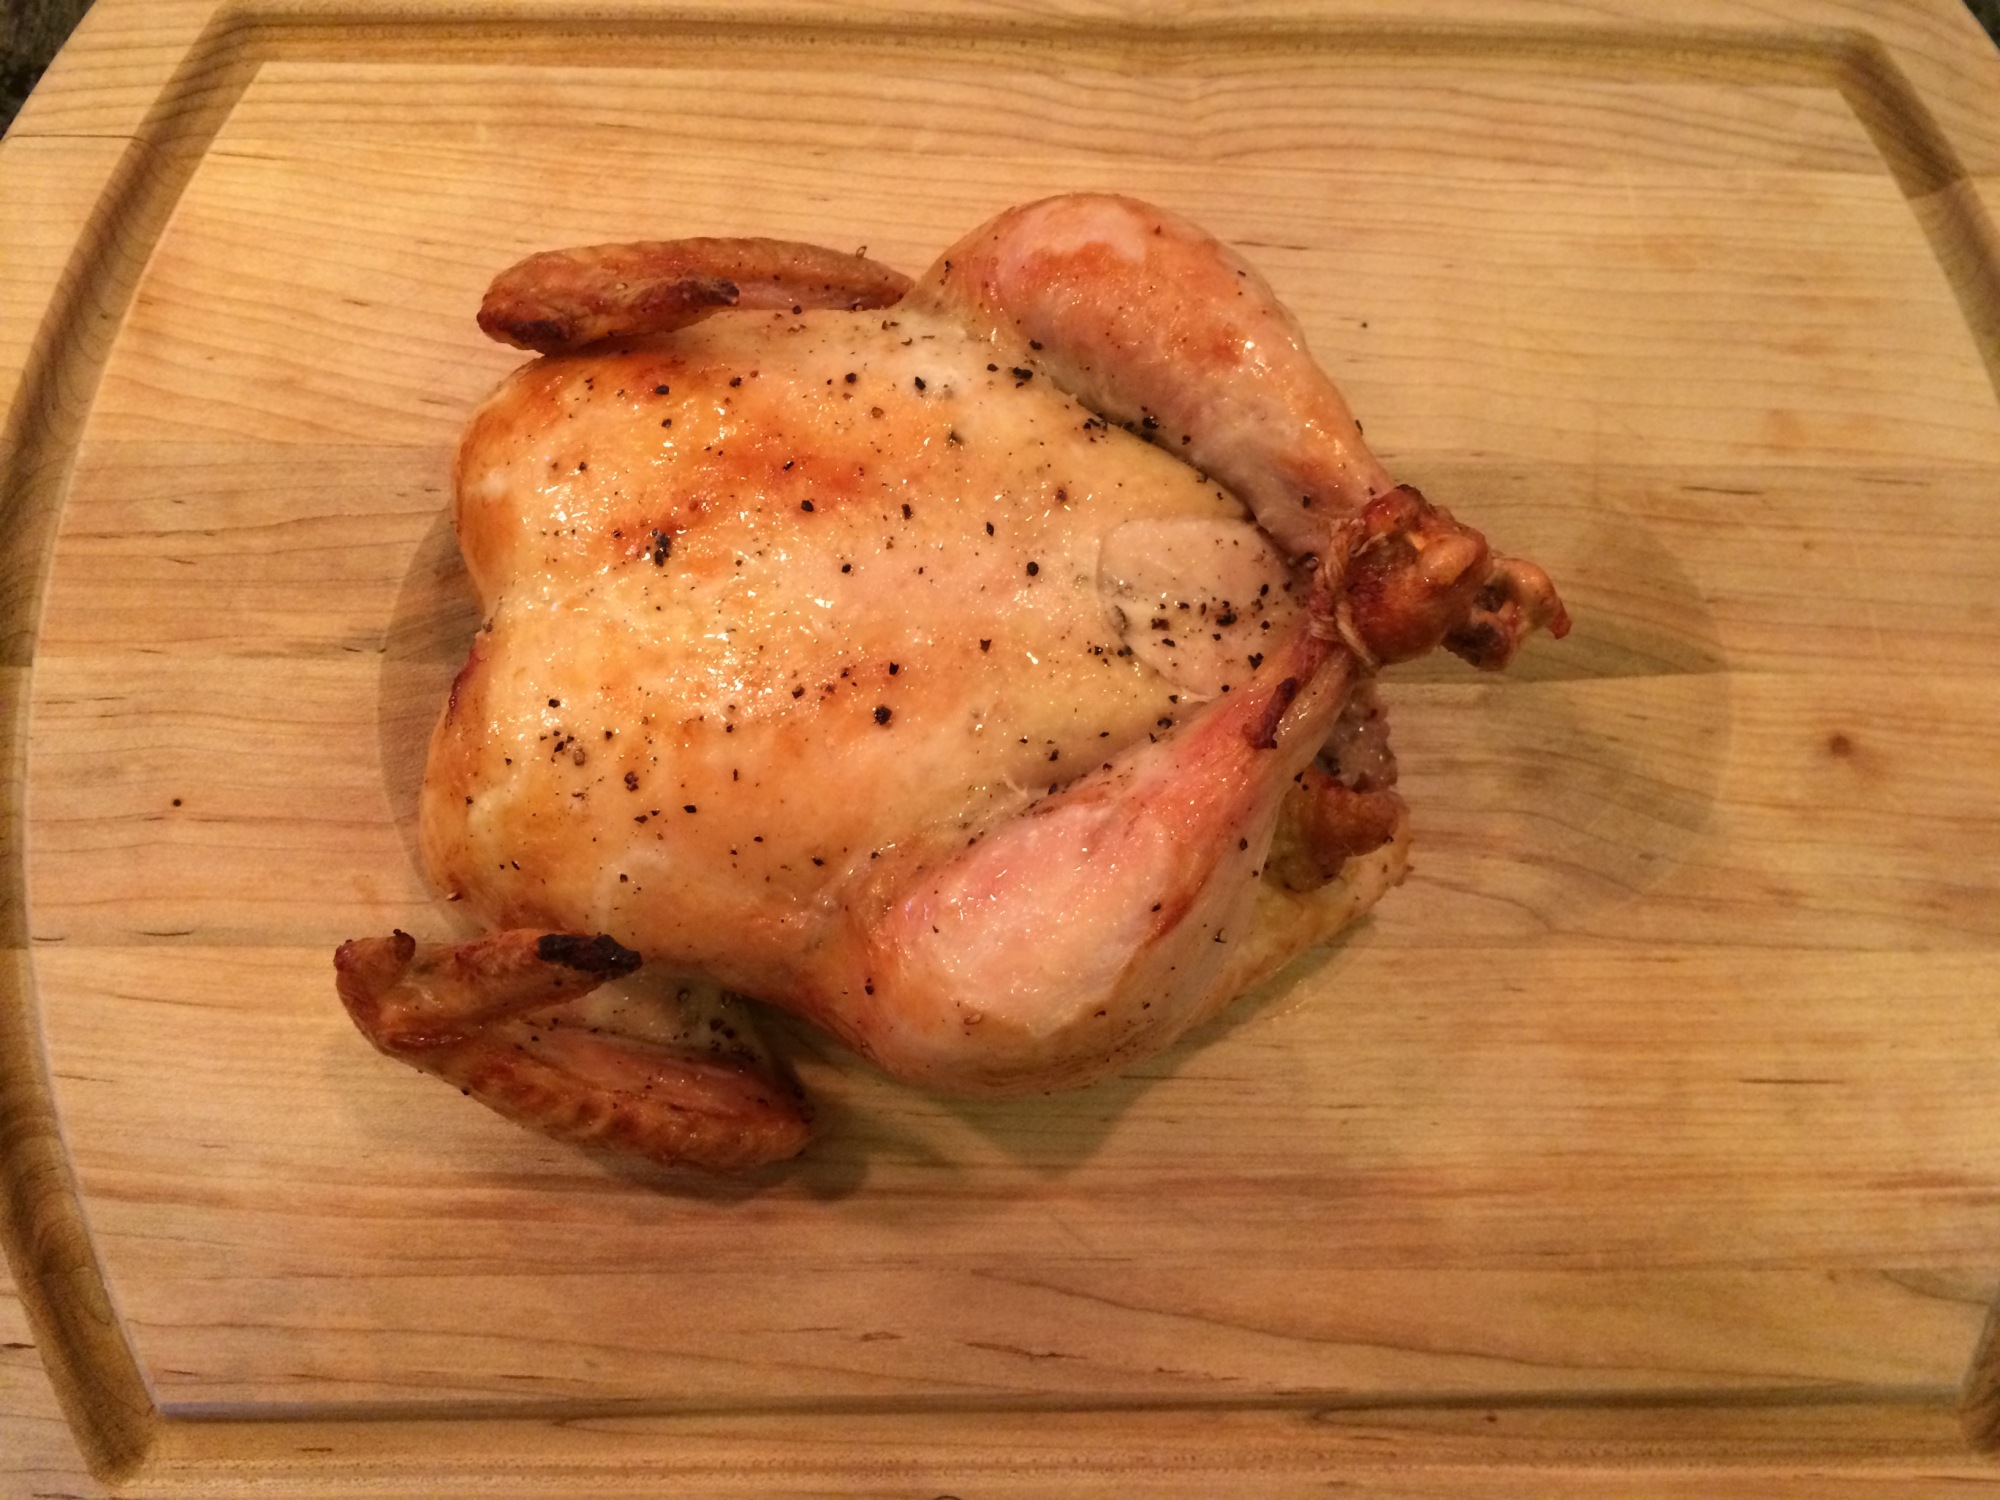
After the next twenty minutes, remove the chicken, and flip it again. Put it back in the oven for another twenty minutes. When twenty minutes has passed, pull the chicken out of the oven. It should be golden brown and the skin should look crispy.

Transfer it to a large cutting board to cool. You can use the “spatula method” to transfer the chicken without burning yourself.

Let the chicken rest for about five minutes, and then you can carve it. I’ll direct you to Youtube for carving advice at https://www.youtube.com/watch?v=msscPphcLyo. It’s not hard, but a video is helpful. I also have a pair of chicken shears (best thing ever), which make cutting off the wings and drumsticks super easy.

And that’s it! You’ve roasted a chicken! Whether you eat it now or save it for your weeknight dinners, it is sure to be delicious. This is what we did with our chicken. Enjoy!


A great tutorial! There’s nothing quite as good as a just roasted chicken! Congratulations on your 1 year anniversary!
LikeLiked by 1 person
Thank you!
LikeLike
You always make cooking sound fun, easy to do, and look delicious. Well done – again! Only one ingredient missing – Gatsby (you knew that was coming)!
LikeLike
Thanks! Gatsby says hi!
LikeLike